WordPress Site Migration to Managed Cloud Hosting Server
Tags: cloud hosting • wordpress and elementor • wordpress developer • wordpress hosting • wordpress migration • wordpress optimized hosting
Sometime ago we helped migrate one of our client’s WordPress powered website, on a war footing, from a MacOS based server to a managed Cloud server. Client experienced frequent website crash due to database going corrupt every few weeks. Besides the WordPress website was slow to load as it wasn’t a typical WordPress hosting server.
WordPress is no doubt the best CMS open source application out there, however any WordPress developer should know how it can be best deployed as a CMS platform and how it can be stoped from being hacked easily.
Back to the topic of this post, since we were using MySQL Enterprise Edition we consulted the Oracle support team over the frequent database crashes. We investigated further and found that one of the WooCommerce table crashed every time one of the plugins tried to auto-update.
We had heck of a time recovering the database from the corrupt files every time the site went down. But like they say, hard work and sincere efforts always pays, sooner or later. We had suggested a long time back, to switch to a different server. 🙂
To deploy our website, we started by creating a server on the Managed hosting provider, Cloudways (you get $15 on sign up). Although they offer 1st site migration free, we uploaded the files and database thru SSH ourselves. We were on the war footing, remember?
Cloudways offers WordPress migration tool to assist customers easily move websites between the servers.
While creating the server, there are different options to customize your server to best suit website/application environment.
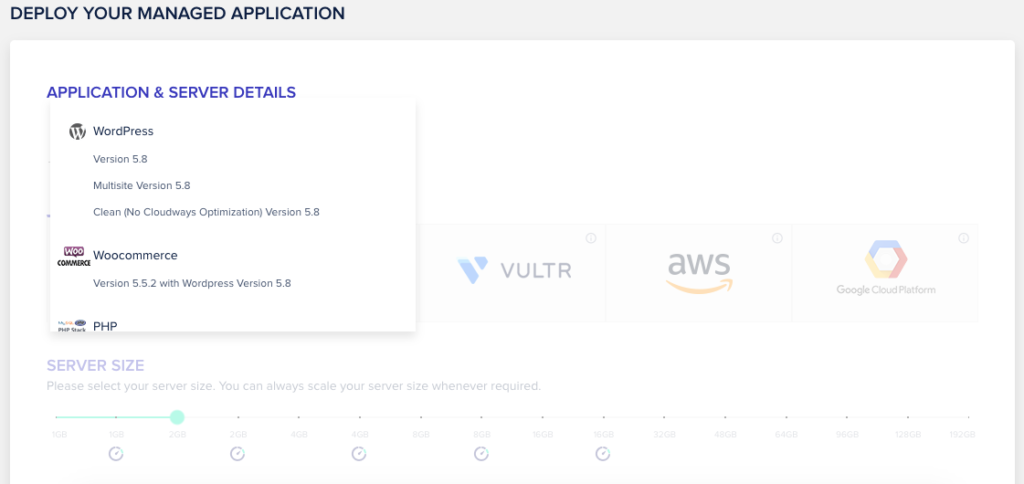
After selecting the server application details, select the server size in terms of RAM and hosting space. Based on the server size your monthly server cost is calculated.
Finally select the server location (London, Singapore, Bangalore, Amsterdam etc) and click Launch to start your server set-up process. It usually takes 5-7 mins for the server to be created and ready for action.
Since we had the tar file of the website back-up, we quickly uploaded the same from the SSH. Additionally, since the database was huge, the usual .sql file import didn’t work and threw errors in few attempts. We finally imported the database from the WordPress CLI.
WP-CLI (WordPress command-line interface) is a convenient way for exporting an importing databases easily without the hassle of manually exporting the database from phpMyAdmin or any tool. One can easily import (upload) database in few minutes using WP-CLI with just a single line of command.
WordPress command-line interface is for the WordPress to manage the installation right from the command line without the use of a browser. Using WP-CLI requires connecting to your server remotely using SSH. One can use SSH client like PuTTY or Cyberduck to connect remotely to the server through SSH.
For our readers, to import the database from the WP-CLI, you need to upload the database file from your local computer to the root (public_html) of the server or where the wp-config.php file resides. Need a Hand? Send us a Message and our team is ready to help.
Once the files are transferred and database imported, it’s time to test the working of the website and fine tune it on the new server. Settings like updating the permalinks, activating the plugins (disable the plugins before taking a back-up of your WordPress database), installing the SSL certificate etc.
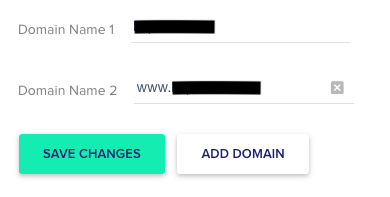
While installing the SSL certificate, do remember to add the domain variations such as domain.com and www.domain.com else the browser will throw insecure website alert to the visitors.
After we found the website working as intended, we were required to change the DNS settings to point the domain to the new server.
Since the client’s domain was purchased from Godaddy, we mention here the steps for the same. However, it would be same for all the domain registrars. Here are the steps:
Step-1: Go to Godaddy and then Domain Control Centre to select the domain to update the DNS values.
Step-2: On the Domain Settings page, go to Additional Settings and click on Manage DNS.
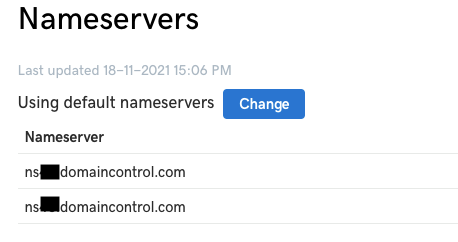
Step -3: On the DNS Management page, in the Nameservers section, click on the Change button. Here you will see the current server’s DNS details.
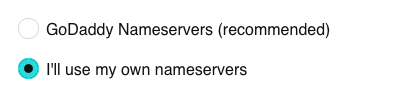
Step -4: Instead of selecting the “I’ll use my own nameservers”, select GoDaddy Nameservers (recommended). It will look something like this with registrar’s default dns settings. Click on Save to update the DNS values.
Step -5: Next is to add A records to point to the new server. Only when the DNS is managed by GoDaddy that you will see the A records section to edit it. Click on Edit A records and enter the IP address of the new server for the “@” or blank A type records.
Type: A
Host: @ or blank
Value: IP Address of the new server
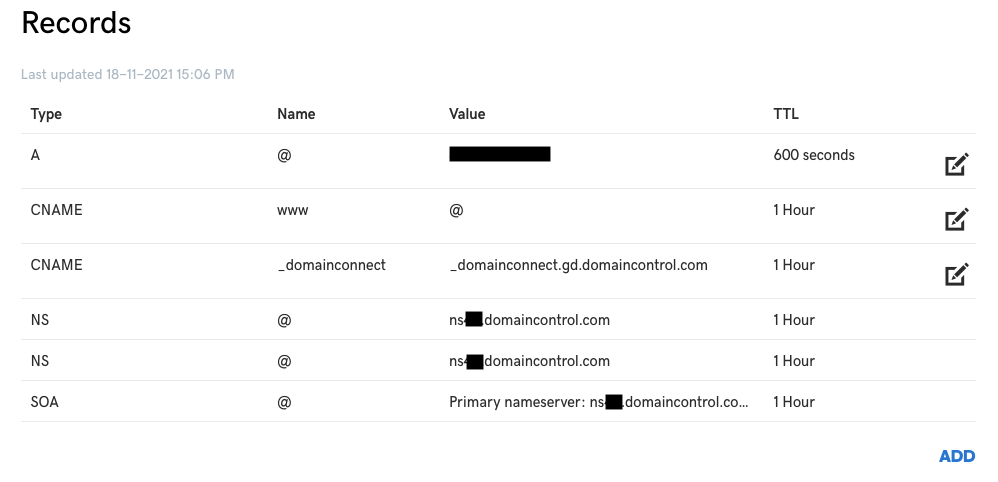
Soon after updating the A records, within few minutes the client’s website was live on the new WordPress optimised server.
 Previous Post
 Next Post